AI Jewelry Photography: Capturing Detail, Sparkle, and Texture
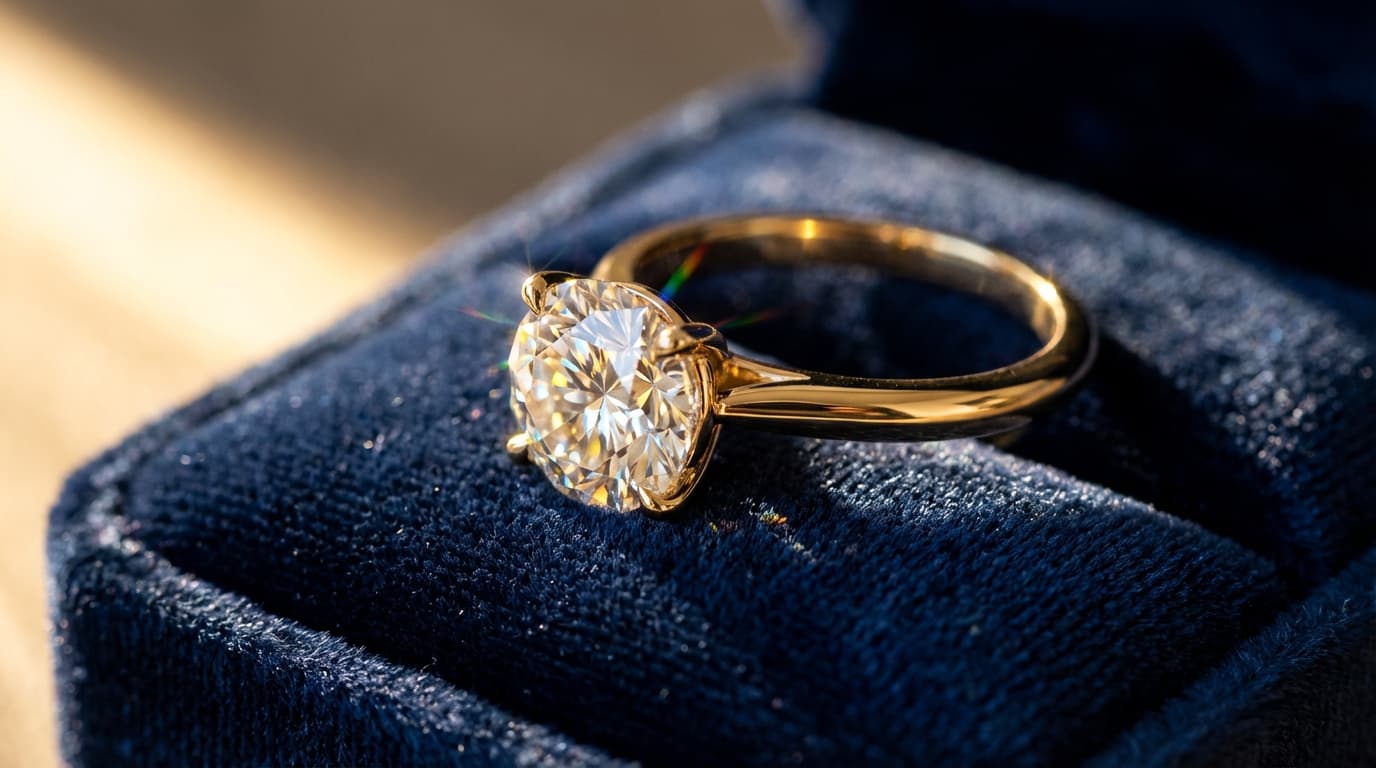
To get good jewelry results from AI, start with sharp macro source photos, guide metal reflections and gemstone sparkle through deliberate lighting and detailed prompts, and upscale aggressively so fine details survive at zoom. Jewelry is the hardest product category in e-commerce photography — tiny products with reflective surfaces, transparent stones, and fine details that must be visible at small thumbnail sizes. Traditional jewelry photography requires macro lenses, controlled lighting setups, and extensive retouching; a single ring can take an hour to shoot and edit properly.
AI tools offer a faster path, but jewelry pushes AI image generation to its limits. Here's how to get the best results.
Why Jewelry Is Uniquely Challenging
Reflections
Metal surfaces — gold, silver, platinum — act as mirrors. They reflect everything around them, including the camera, the photographer, and the studio. In traditional photography, you control this with light tents and careful positioning. In AI generation, you need to guide the AI toward realistic reflective behavior through prompt detail and lighting choices.
Scale
A ring is 2cm wide. On a product listing, it might fill a 1000x1000 pixel frame. That means every microscopic detail — prong settings, stone facets, engraving — needs to be rendered with precision. This is where Upscale becomes essential for jewelry.
Sparkle and brilliance
Gemstones sell because of how they interact with light. Diamonds need to sparkle. Colored stones need to glow. Pearls need soft luster. Each gem type requires different lighting to look its best.
Lighting Strategies for Jewelry
Use Relight to dial in the right lighting for each jewelry type:
Diamonds and crystal
Hard side lighting creates the sparkle and fire that sells diamonds. A strong directional light source from 45 degrees produces the bright highlights and dark contrasts that make stones look alive.
Colored gemstones (sapphires, emeralds, rubies)
Soft back lighting makes colored stones glow from within. Position light behind the stone to create translucency, with soft front fill to show the setting details.
Gold jewelry
Warm, soft lighting from multiple directions minimizes harsh reflections while maintaining the warm golden color. Avoid cool lighting, which makes gold look silvery and cheap.
Silver and white gold
Cool, directional lighting with controlled highlights. Silver benefits from a slightly harder light source that creates clean, bright reflections along edges and curves.
Pearls
Broad, diffused overhead light. Pearls need gentle, even illumination that reveals their luster without creating hot spots. Harsh light makes pearls look plastic.
Prompting for Jewelry
Effective jewelry prompts in Create should include:
- Material specificity — "18k yellow gold," "brushed sterling silver," "rose gold with rhodium plating"
- Stone details — "round brilliant-cut diamond, 1 carat," "oval cabochon sapphire"
- Surface description — "high polish finish," "hammered texture," "satin brushed"
- Lighting cues — "studio macro photography with controlled reflections"
- Scale context — Include a prop for scale when appropriate (ring box, jewelry stand, hand/wrist)
Shooting Workflow for Jewelry
Step 1: Source image quality
The better your reference photo, the better the AI output. For jewelry, this means:
- Use macro mode on your phone or camera — get as close as the lens allows
- Shoot on a clean, solid surface — Black velvet or white acrylic
- Use soft, diffused light — A window with a sheer curtain or a light tent
- Take multiple angles — Front, three-quarter, side, and top-down
Step 2: Background removal and cleanup
Run every source image through Remove Background. Jewelry backgrounds often introduce color casts that affect how the AI interprets the metal color.
Step 3: Generate and relight
Generate your images with Create, then fine-tune with Relight. For jewelry, lighting adjustments are almost always necessary — the difference between "nice" and "premium" is subtle lighting work.
Step 4: Upscale aggressively
Jewelry images need to be large enough for customers to zoom in and see details. Always upscale your final images. Customers shopping for a $500 ring will zoom in to check the setting quality — make sure the pixels are there.
On-Model vs. Product-Only
Both styles serve different purposes:
- Product-only — Clean, informational, good for comparison shopping. Best for the primary listing image.
- On-model (hand, wrist, neck) — Shows scale and how the piece looks when worn. Essential for the secondary listing images.
Use Create with a character reference to generate on-model shots. A hand or neck reference doesn't need a full face — just the relevant body part at the right angle.
Marketplace-Specific Tips
- Amazon — Main image must be product-only on white background. Use AI-generated lifestyle and on-model images for secondary slots.
- Etsy — Lifestyle and on-model images perform best. Customers expect to see the piece in context.
- Shopify — Mix both styles. Use product-only for the main gallery and lifestyle for homepage and collection banners.
For more on marketplace requirements, see our guide on marketplace image requirements.