Turn Smartphone Photos Into Usable Product Images
A smartphone photo can become a strong product image if it captures the product accurately. AI can improve background, lighting, crop, and resolution, but it cannot reliably recover a product that was hidden, warped, dirty, or photographed from the wrong angle.
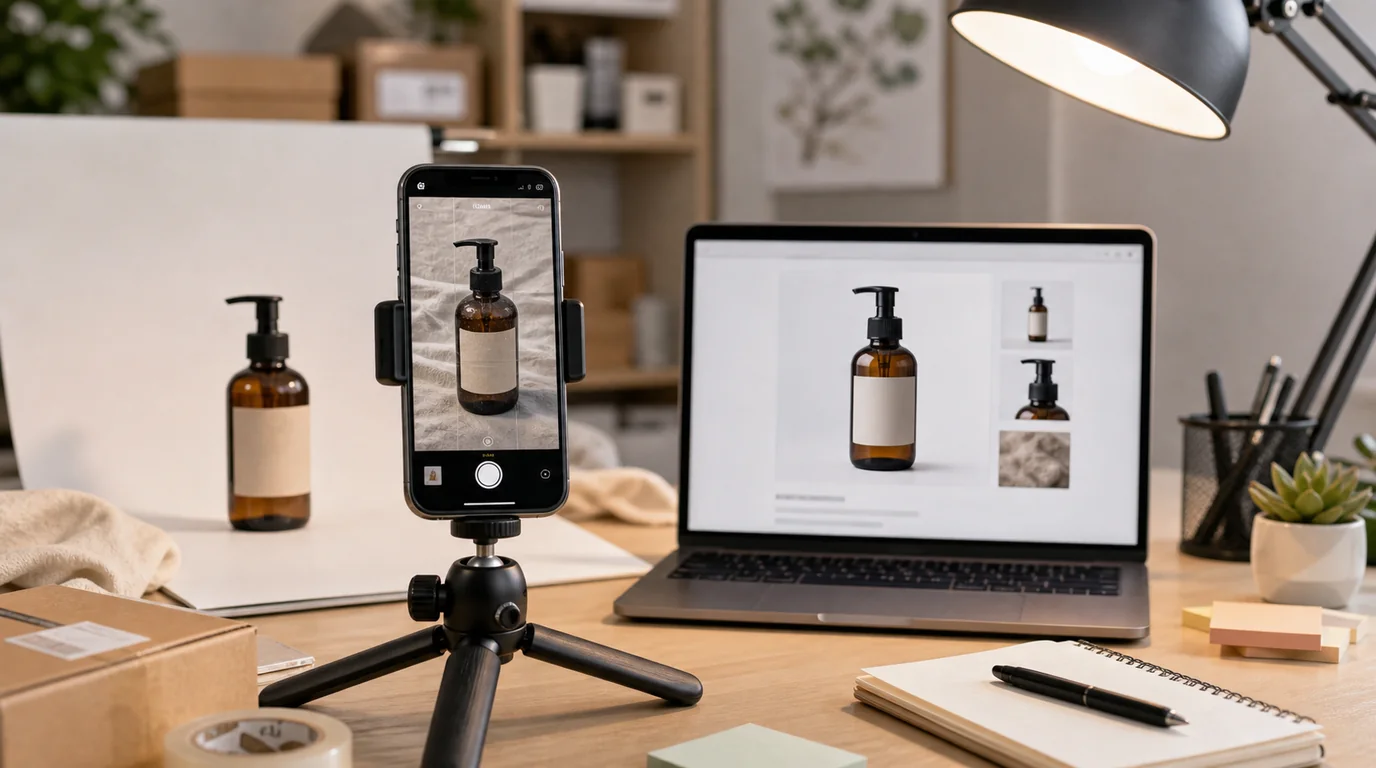
The workflow starts before editing.
Capture for editability
When shooting with a phone, aim for a clean source file:
- Wipe the product first.
- Use indirect window light or soft shade.
- Keep the camera level with the product.
- Leave space around all edges.
- Avoid portrait mode blur on product boundaries.
- Take front, side, back, and detail shots.
- Shoot the label straight if text matters.
Do not hold the product so fingers cover important shape, label, buttons, seams, or texture. If you need a hand scale image, shoot that separately.
Shoot a quick coverage set
For each SKU, capture more source coverage than you expect to publish. A practical phone set takes only a few minutes:
- Straight front for label and hero.
- Slight angle for depth.
- Side view for thickness or ports.
- Back view for required information or closure details.
- One close-up of the most important material or mechanism.
- One packaging or contents reference.
This coverage gives GESTEL cleaner inputs and reduces the need to invent missing structure later. Delete weak files after review, not while shooting.
Sort before editing
Pick the best source images by accuracy, not beauty. A slightly dull but straight product photo is better than a dramatic photo with bent edges or hidden details.
Reject source photos where:
- The product is out of focus.
- Strong reflections hide the surface.
- The product edge blends into the background.
- The label is angled or unreadable.
- A hand covers important information.
- The image is cropped too tightly.
Then decide what each image should become: hero, angle, detail, scale, package, or lifestyle.
Use AI for the right tasks
Use /edit/remove-bg when the product is accurate but the background is messy. This is often the safest first step.
Use /edit/upscale when the composition is approved but the file is too small or soft.
Use /create when you need a new context, such as product on a bathroom shelf, product on a desk, product beside package, or product in a clean studio setup.
Do not use generation to fix every problem at once. If the source label is wrong, reshoot. If the product shape is hidden, reshoot. If the color is unreliable, reshoot under better light.
Build a minimum page set
For a small shop, a practical first set is:
- Clean hero from the best phone photo.
- Side or angle view.
- Detail close-up.
- Scale image.
- Package or contents image.
- One realistic lifestyle image.
This is enough to answer most buyer questions without creating a large production burden. Expand later only when the product page shows a real gap.
Review like a customer
Open the final images on a phone, not only a desktop. Ask:
- Can I identify the product in two seconds?
- Does the color look believable?
- Is the label accurate enough for this placement?
- Do I understand the size?
- Does the page feel consistent?
- Is anything shown that is not included?
If the image fails on mobile, fix the crop before changing the style.
Keep a reusable phone setup
Create a repeatable capture spot: same window, same table, same background board, same time of day if possible. The goal is not professional studio perfection. The goal is source consistency.
For solo sellers, this connects well with /blog/ai-product-photo-workflow-solo-sellers and the broader process in /blog/ai-image-workflow-ecommerce. Better phone inputs make every AI step safer and faster.