The Complete AI Image Workflow for E-Commerce Teams
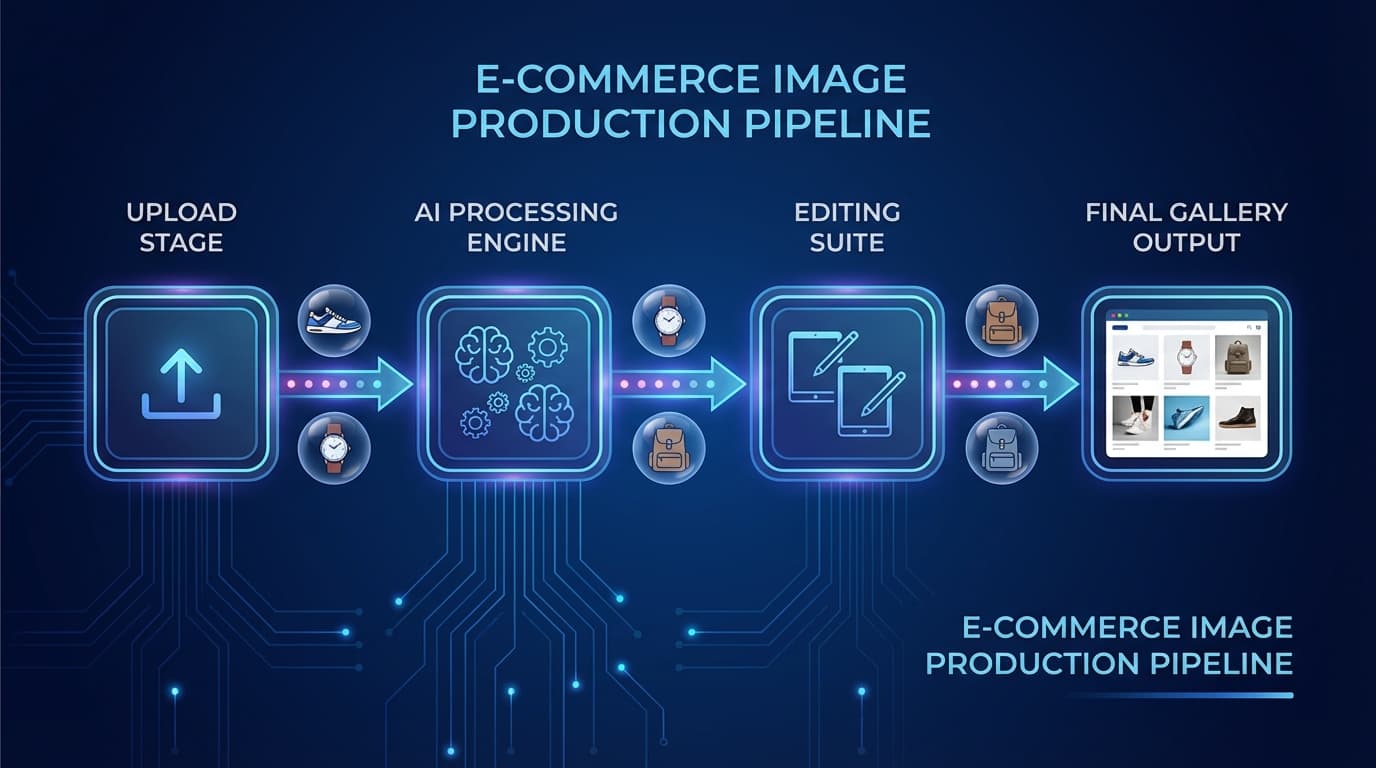
The complete AI image workflow has four steps: capture a smartphone reference photo, generate primary images with AI, post-process them (remove background, relight, upscale), then export for each sales channel. This collapses product image production from the days or weeks traditional photography takes to roughly 20-30 minutes per product. Managing product imagery is one of the most time-consuming parts of running an e-commerce operation — between photographing products, editing images, formatting for different platforms, and maintaining consistency across a catalog, it can consume days of work per week.
AI image tools collapse this workflow from days to hours. Here's how to build a complete image pipeline using AI.
The Old Way vs. The AI Way
Traditional workflow (per product): 1. Schedule photoshoot (1-2 weeks lead time) 2. Shoot product photos (2-4 hours for 10 products) 3. Select and cull images (1-2 hours) 4. Retouch in Photoshop (30-60 minutes per image) 5. Create platform-specific crops and sizes (15-30 minutes per image) 6. Export and upload (15-30 minutes)
Total: 2-4 weeks, $200-500+ per product
AI workflow (per product): 1. Capture reference photo on smartphone (5 minutes) 2. Generate primary images with AI (5-10 minutes) 3. Post-process: remove background, relight, upscale (5-10 minutes) 4. Export for channels (5 minutes)
Total: 20-30 minutes, fraction of the cost
Step 1: Capture or Source Reference Images
Every AI image workflow starts with reference material. You need at least one clear photo of your product. This doesn't require professional equipment:
- Smartphone in good natural light — Near a window on an overcast day is ideal
- Clean, uncluttered background — A white table or sheet works fine
- Multiple angles if possible — Front and three-quarter views give the AI more to work with
- Include detail shots — Close-ups of textures, labels, or key features
You can also use existing product photos, supplier images, or even 3D renders as reference material.
Step 2: Generate Primary Images
With your reference images ready, use AI generation to create your primary product photos:
For lifestyle and contextual images Use [Recreate](/recreate) to place your product into lifestyle scenes. Upload the product photo and a scene image, and the AI composites them together. Generate 3-5 scene variations per product.
For on-model and styled shots Use [Create](/create) to generate styled product imagery. Upload your product along with model, outfit, and pose references to create on-model shots. This is especially valuable for fashion, accessories, and beauty products.
For better results, invest time in writing good prompts. Our prompting guide covers the techniques that make the biggest difference.
Step 3: Post-Process
Raw AI outputs often benefit from post-processing. Chain these tools as needed:
Remove background Use [Remove Background](/edit/remove-bg) to create clean cutouts for marketplace listings that require white or transparent backgrounds. This is mandatory for Amazon main images and useful for most platforms. For tips on getting the cleanest results, see our [background removal guide](/blog/background-removal-tips).
Relight Use [Relight](/edit/relight) to fix or standardize lighting across your catalog. This is especially useful when combining AI-generated images with traditionally photographed ones — relighting normalizes the look.
Generate additional angles Use [Multiple Angles](/edit/multiple-angles) to create front, side, and back views from a single photo. A five-image gallery converts better than a single hero shot.
Upscale Use [Upscale](/edit/upscale) to ensure images meet platform resolution requirements. Amazon requires at least 1000px on the longest side; most platforms recommend 2000px+. See our guide on [when upscaling helps](/blog/image-upscaling-when-to-use) for more detail.
Step 4: Export for Different Channels
Different sales channels have different image requirements:
- Shopify — Recommended 2048x2048px, square format, max 20MB
- Amazon — Main image: pure white background, 1000px+ minimum, 10,000px max
- Etsy — Recommended 2000px on shortest side, 5:4 aspect ratio
- Social media — Platform-specific sizes (1080x1080 for Instagram feed, 1200x628 for Facebook link shares)
For detailed platform requirements, see our marketplace image requirements guide.
Putting It All Together
The key to efficiency is building a repeatable pipeline. Define your standard workflow per product category:
- Hero shot — AI-generated lifestyle or styled image (via Create or Recreate)
- Clean cutout — Background-removed product on white (Remove Background)
- Angle gallery — 3-4 additional angles (Multiple Angles)
- Detail shot — Close-up or texture detail
- Scale/context image — Product shown with a common object for size reference
Once defined, this pipeline can process a new product in under 30 minutes — compared to the days or weeks required with traditional photography.