How to Convert Product Images to SVG for Web and Print
To convert a product image to SVG, run it through an AI vectorization tool like GESTEL's Image to SVG: upload a PNG or JPEG, and the AI traces the shapes, edges, and colors into clean vector paths and outputs a scalable SVG. Because vectors use mathematical paths instead of pixels, the result scales infinitely without quality loss — ideal for logos, packaging and print templates, and responsive web assets that must render crisply at any screen density.
When You Need Vector Graphics
SVG (Scalable Vector Graphics) files use mathematical paths instead of pixels, so they scale infinitely without quality loss. Common use cases include:
- Logos and brand marks — Must look sharp from favicon size to storefront signage
- Packaging and print templates — Printers require vector art for clean edges at any scale
- Responsive web icons and illustrations — SVGs render perfectly on 1x, 2x, and 3x displays
- Laser cutting and engraving — Machines need vector paths, not pixel grids
How AI Vectorization Works
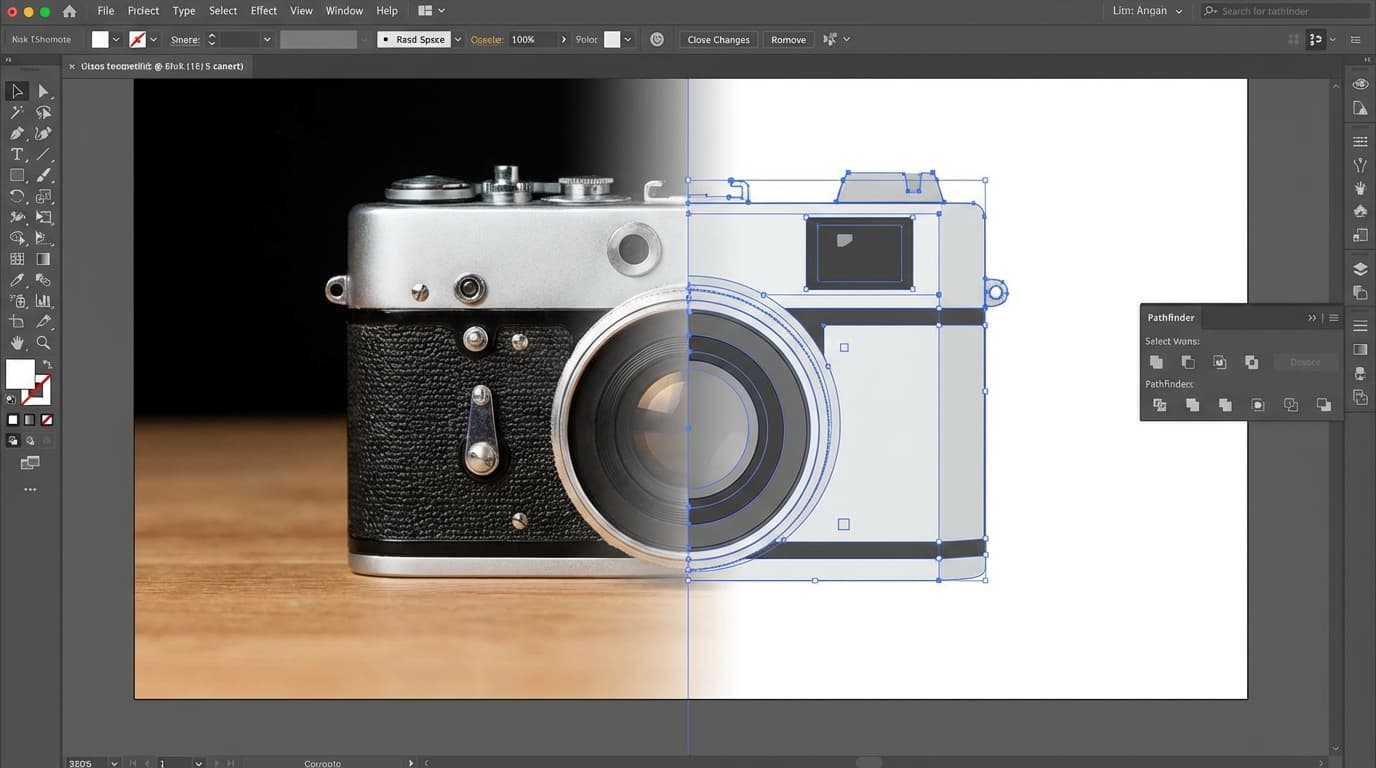
GESTEL's Image to SVG tool uses AI to trace the shapes, edges, and colors in a raster image and convert them into clean vector paths. Upload a PNG or JPEG, and the tool outputs an SVG file.
The AI goes beyond simple auto-trace. It identifies distinct shapes, simplifies curves, and produces cleaner output than traditional bitmap-to-vector converters — especially on complex images.
What Converts Well (and What Doesn't)
Good candidates for vectorization - **Logos and icons** — High contrast, limited colors, clear shapes - **Illustrations and line art** — Clean edges, flat colors - **Simple product silhouettes** — After [background removal](/edit/remove-bg), product outlines convert cleanly - **Typography and lettering** — Text with distinct letterforms
Poor candidates for vectorization - **Complex photographs** — A photo of a landscape will produce an extremely complex SVG with thousands of paths, resulting in a large file that defeats the purpose - **Gradient-heavy images** — Smooth gradients become banded steps in vector form - **Images with fine textures** — Fabric weave, wood grain, and similar textures create noisy vector output
Optimizing SVG Output
After conversion, a few steps can improve your SVG files:
- Simplify paths — If the SVG has more detail than you need, reduce the number of anchor points. Many vector editors have a "simplify" function.
- Clean up colors — Vectorization sometimes introduces near-identical color values. Consolidate to your brand palette.
- Remove hidden paths — The conversion may create paths hidden behind other shapes. Deleting them reduces file size.
- Test at multiple sizes — Open the SVG at both very small (32px) and very large (1000px+) sizes to confirm it reads well at both extremes.
For product images, a good workflow is to first remove the background to isolate the product, then convert to SVG. This produces a much cleaner vector than converting a photo with a busy background.