Getting Started with AI Product Photos on a Budget
The Playing Field Has Leveled
You don't need a studio or a big budget to get professional product photos. A smartphone capture plus a three-step AI workflow — remove the background, place the product in a lifestyle scene, and upscale — produces marketplace-ready images for a fraction of a photographer's fee. Two years ago, launching a product on Amazon or Etsy with professional-looking photos meant one of two things: spend $500+ on a photographer or learn to live with mediocre images that tank your conversion rate.
That equation has changed. AI image generation tools now let you turn a smartphone photo into studio-quality product imagery for a fraction of the cost. Not "good enough" imagery. Genuinely competitive photos that hold up next to brands with dedicated creative teams.
If you're a small seller running 1 to 50 SKUs, this guide walks you through exactly how to get started without blowing your budget.
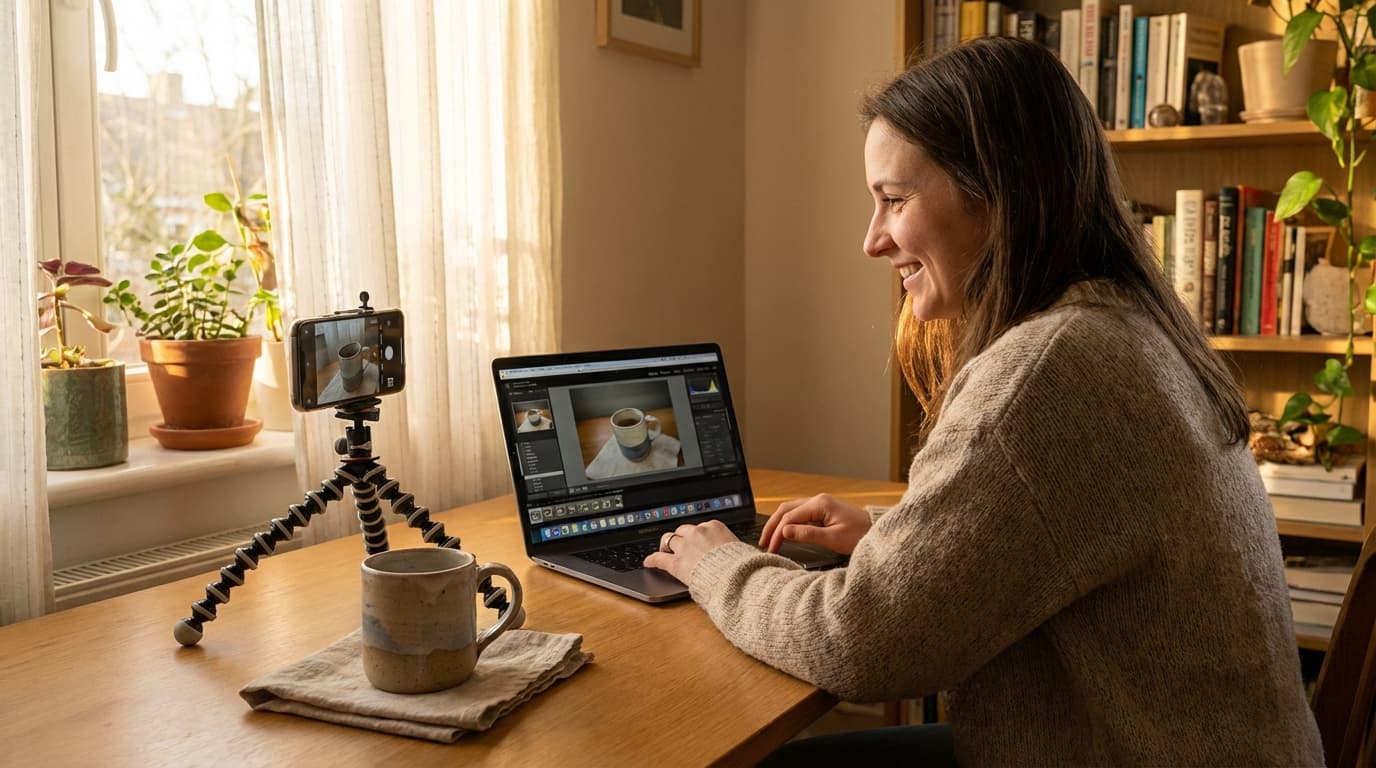
Capture Better Source Images with Your Phone
AI tools are powerful, but they still follow the garbage-in-garbage-out rule. Better source photos mean better AI output. Here's how to maximize what you capture with just a smartphone.
Lighting
- Shoot near a large window during the day. Indirect natural light is your best free lighting setup.
- Avoid direct sunlight, which creates harsh shadows. Overcast days are ideal.
- If you shoot at night, use two desk lamps positioned at 45-degree angles to your product.
Background and Surface
- Use a plain white poster board or a clean sheet. This makes background removal dramatically easier.
- For smaller products, a simple sweep (a curved piece of paper from table to wall) eliminates the horizon line.
Angles and Detail
- Capture at least 4 angles: front, back, 3/4 view, and a detail close-up.
- Keep the product centered and fill 60-70% of the frame.
- Use your phone's 2x zoom instead of getting close. This reduces lens distortion that makes products look warped.
Camera Settings
- Turn on HDR if available.
- Tap to focus on the product and lock exposure.
- Use a timer or volume button to avoid camera shake. Leaning your phone against something stable works in a pinch.
These photos don't need to be portfolio-worthy. They need to clearly show the product's shape, color, and details so the AI has solid material to work with.
The Budget-Friendly Workflow: Three Tools in Order
You don't need every AI tool at once. Here's the priority sequence that gives you the most impact per dollar.
Step 1: Remove the Background
Start with Remove Background. This single step takes a phone photo from "amateur seller" to "clean product shot" instantly. A white or transparent background is the baseline requirement for every major marketplace.
Upload your smartphone photo, and the tool isolates your product cleanly. No manual masking, no Photoshop skills needed.
Step 2: Place Your Product in Professional Scenes
Once you have clean product cutouts, use Recreate to place them into lifestyle scenes. Upload your product image and a scene reference, and the AI composites your product into the environment naturally.
This is where the real value kicks in. A candle on a rustic wooden table. Sneakers on a city sidewalk. A skincare bottle on a marble countertop. These contextual shots are what drive clicks on marketplaces, and they traditionally require a full photo shoot to produce.
Step 3: Upscale for Print and Zoom
Marketplace listings need high-resolution images that hold up when customers zoom in. Run your final images through Upscale to increase resolution without losing sharpness. This is especially important if your source photos were taken on an older phone or in less-than-ideal conditions.
Full Workflow Walkthrough
Here's what a complete session looks like for a single product.
- Photograph your product from 4 angles using the smartphone tips above
- Upload each photo to Remove Background to get clean cutouts
- Take your best cutout to Recreate with a scene reference that fits your brand
- Optionally, use Create to generate additional lifestyle variations with model, outfit, or style references
- Run final selects through Upscale for marketplace-ready resolution
- Download and upload to your listings
For a single product, this entire process takes about 15 to 20 minutes once you're familiar with the tools.
ROI: Traditional Photography vs. AI for Small Sellers
Let's look at real numbers for a seller with 25 SKUs who needs 5 images per product (125 total images).
Traditional Photography
- Photographer day rate: $800-1,500
- Studio rental: $200-500 per day
- Props and styling: $100-300
- Post-production editing: $5-15 per image
- Total estimate: $1,700-3,400+
- Timeline: 2-4 weeks including booking, shooting, and editing
- Per-image cost: $13-27
AI-Powered Workflow
- AI tool subscription: $20-100/month
- Your time (first batch, learning curve): 6-8 hours
- Your time (subsequent batches): 15-20 min per product
- Total estimate: $20-100 + your time
- Timeline: 1-2 days
- Per-image cost: $0.16-0.80
Even accounting for the value of your time, the savings are dramatic. And unlike a photo shoot, you can regenerate or create new variations anytime without rebooking anything. For a deeper comparison, see our full breakdown of AI vs. traditional product photography costs.
Scaling Up as Your Business Grows
The budget workflow above handles the essentials. As your store gains traction, you can layer in more sophisticated techniques.
At 10-25 SKUs: Master the core three-step workflow. Focus on consistency across your catalog so your store looks cohesive.
At 25-50 SKUs: Start using Create with multiple reference images to build a distinct visual brand. Upload style references and model references to generate images that feel like they came from the same campaign. The Pro engine gives you structured control over lighting, color palette, and composition.
At 50+ SKUs: Develop templated workflows. Establish scene references and style references that define your brand, then run new products through the same pipeline for consistent output across your entire catalog. This is where AI's speed advantage becomes transformative: adding a new product takes minutes, not a new photo shoot.
For a comprehensive walkthrough of advanced techniques, check out our complete guide to AI product photography.
Start with One Product
Don't try to reshoot your entire catalog on day one. Pick one product, ideally your best seller or a new launch, and run it through the full workflow. Compare the results against your existing photos.
Most sellers are surprised by the quality gap. And once you've done it once, the second product takes half the time.
The tools are ready. Your smartphone is ready. The only variable is starting.