Packaging and Unboxing Photos That Set the Right Expectation
Packaging photos are where many product pages accidentally overpromise. A beautiful unboxing image can improve confidence, but only if it shows what the buyer will actually receive. The workflow is less about making the box look dramatic and more about controlling expectation.
Separate packaging from contents
Plan at least two different image jobs:
- Package exterior: box, pouch, sleeve, label, seal, or mailer.
- Box contents: every included item laid out clearly.
Do not merge these too early. A single staged unboxing image can be attractive, but it often hides whether an accessory is included, optional, or decorative.
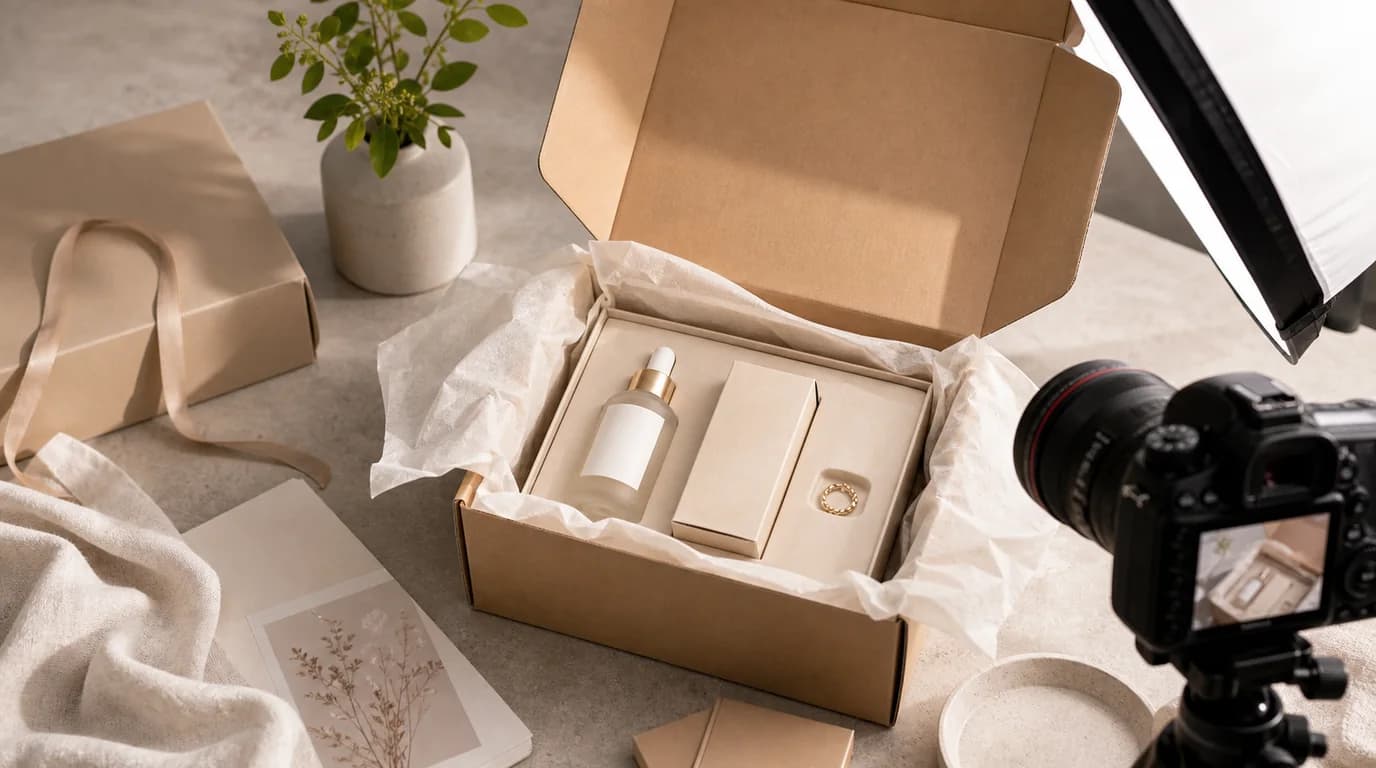
If you sell sets, subscriptions, refills, or giftable products, add a third image: the first-open moment. This shows how the product feels when received without replacing the contents checklist.
Create a source inventory
Before generating anything, write the exact inventory:
- Main product.
- Size or quantity.
- Manual or card.
- Cable, strap, scoop, applicator, refill, pouch, or tool.
- Items not included but sometimes shown in lifestyle photos.
This list becomes the boundary for /create. If a generated image adds ribbon, spoon, charger, cotton bag, sticker sheet, or extra bottle that is not included, reject it or regenerate with stricter instructions.
Photograph the boring proof
Packaging work is easier when you keep one plain reference photo that is not meant to be beautiful. Put every included item on a table, shoot from above, and keep the file as the inventory proof. This gives the AI operator, reviewer, and support team the same source of truth.
Use the proof photo to answer practical questions before generating:
- Are there one or two manuals?
- Is the cable USB-C, Lightning, or another connector?
- Does the refill ship inside the box or separately?
- Is the pouch included in every order or only a promotion?
- Which side of the package carries required warnings?
The final image can look cleaner than the proof photo, but it should never show more value than the proof photo allows.
Use packaging images for specific jobs
Different packaging photos answer different questions.
The exterior image answers: Will this look giftable, secure, clean, or retail-ready?
The contents image answers: What exactly arrives?
The scale image answers: How big is the box and product?
The unboxing image answers: What is the first impression?
The storage image answers: Can I keep it organized after opening?
Only create the jobs your product actually needs. A low-priced refill pack may need contents clarity more than a cinematic unboxing scene.
Prompt with exclusions
Packaging prompts need exclusions because AI often decorates the scene.
Use prompts like:
- Open white box with the same product, printed card, and charging cable only, top-down layout, no ribbon, no extra accessories.
- Product pouch beside folded outer sleeve, same logo placement as source, matte paper texture, no new claims or badges.
- First-open scene on clean table, product nested in molded tray, only included items visible.
Avoid:
- Luxury unboxing with gifts.
- Premium packaging with accessories.
- Surprise box layout.
Those phrases invite invented value.
Review legal and support risk
Packaging images can create support tickets when they imply the wrong bundle. Review with a practical checklist:
- Every visible item is included or clearly decorative.
- Package text does not add claims, certifications, sizes, or ingredients.
- Logo, barcode area, warnings, and labels are not warped.
- The box opening direction and tray shape are plausible.
- Color matches the shipped packaging.
- The image does not imply gift wrap unless gift wrap is standard.
If label accuracy matters, preserve the original package photo and edit around it rather than generating new text. Use /edit/remove-bg for cleanup and /edit/upscale for low-resolution approved packaging shots.
Put the image in the right place
Do not lead with packaging unless packaging is the product experience, such as premium gifts, subscriptions, collector items, or kits. For most products, place packaging after the shopper understands the item itself.
A common order is:
- Product hero.
- Product in use.
- Key detail or scale.
- Package exterior.
- Box contents.
- Unboxing or gift view.
For a full ecommerce visual workflow, connect this page sequence with /blog/ai-image-workflow-ecommerce. The packaging image should support the sale, not distract from the product.