A Beginner's Guide to AI Image Editing Tools
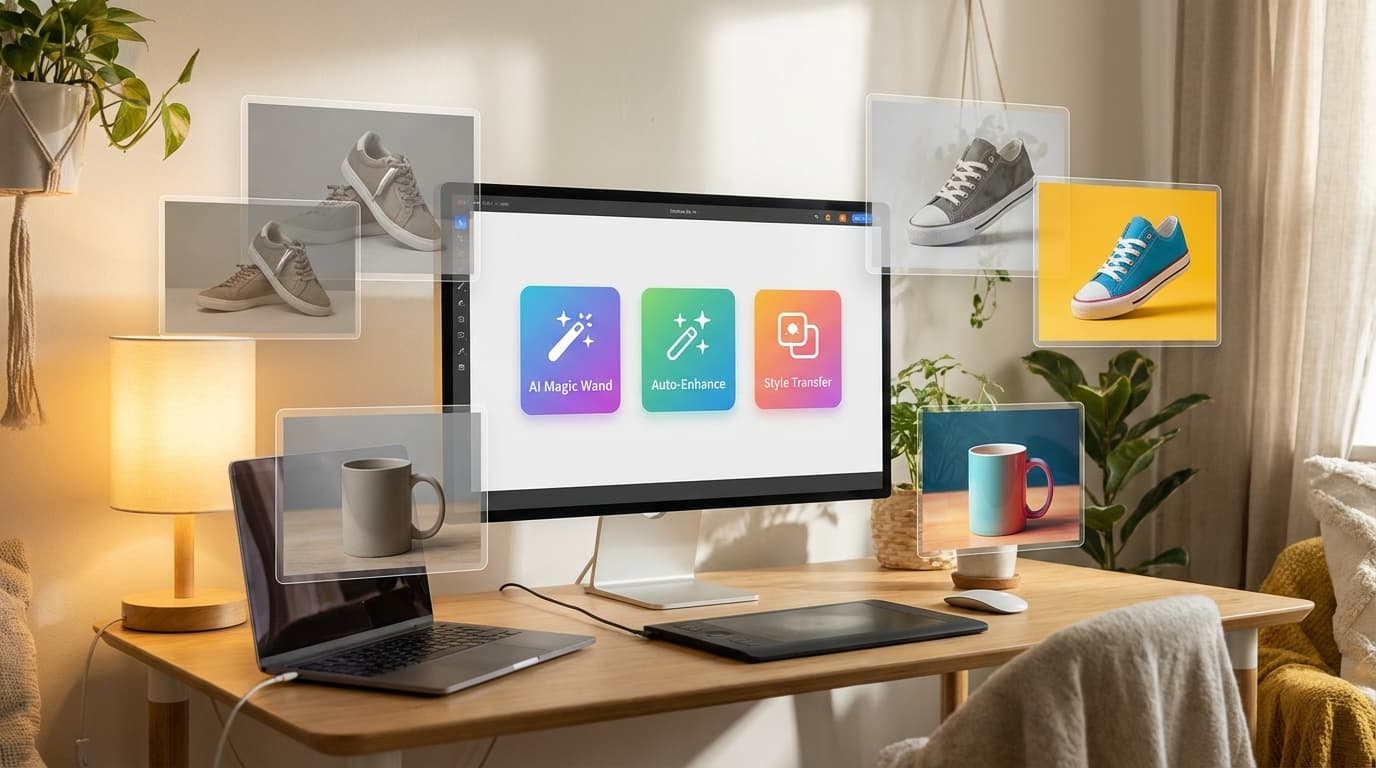
AI image editing now handles the core product-photography tasks without Photoshop or a retoucher. GESTEL offers five tools, each designed to do one thing well: Remove Background, Upscale, Relight, Multiple Angles, and Image to SVG. With them you can strip backgrounds, fix lighting, generate new angles, upscale resolution, and vectorize graphics — genuinely useful for real product photography workflows, not just "cool demo" useful. Here's what each one does, when to reach for it, and how to avoid the common mistakes.
Key takeaways
- GESTEL offers five AI editing tools: Remove Background, Upscale, Relight, Multiple Angles, and Image to SVG.
- Remove Background strips to a transparent subject; Upscale raises resolution but can't recover detail that was never captured.
- Relight adjusts lighting after the shot and is especially useful for brand consistency; Multiple Angles turns one photo into a multi-view gallery.
- Image to SVG vectorizes clean graphics and logos — not photographs.
- Recommended order: Remove Background → Multiple Angles → Relight → Upscale (always last) → Image to SVG.
Tool-by-Tool Breakdown
Remove Background
What it does: Strips the background from any image, leaving you with a clean subject on a transparent canvas.
When to use it:
- Preparing product shots for e-commerce listings (Amazon, Shopify, etc.)
- Creating assets for composites or scene placement
- Cleaning up photos taken in cluttered environments
- Building a product asset library for future AI generations
Tips:
- Works best with clear contrast between subject and background. A white product on a white table will give the AI a harder time than a dark product on a light surface.
- Check edges carefully — hair, fur, and translucent materials (glass, mesh) are the hardest cases. Zoom in on the output.
- If you're planning to use the cutout as a reference image in the Create tool, remove the background first, then upload the clean version.
For a deeper dive, see our background removal tips.
Upscale
What it does: Increases image resolution using AI super-resolution. Takes a low-res image and generates a higher-resolution version with added detail.
When to use it:
- Preparing images for print (catalogs, packaging, signage)
- Recovering detail from compressed or small source images
- Making AI-generated images large enough for high-DPI displays
When it won't help:
- If the source image is extremely blurry or heavily compressed, upscaling can only invent detail — it can't recover what was never there. It's enhancement, not magic.
- For images that are already high resolution, upscaling adds file size without meaningful quality improvement.
Tips:
- Upscale after all other edits. Every editing step introduces some quality loss, so upscaling should be your final step.
- Check our guide on when image upscaling actually helps for more detail on this.
Relight
What it does: Changes the lighting of an existing photograph. You can adjust the direction, intensity, and quality of light after the photo has already been taken.
When to use it:
- Fixing flat or harsh lighting from phone photos
- Matching lighting across product images shot at different times or locations
- Creating dramatic lighting for hero images or ads
- Normalizing a batch of product photos to look like they were shot in the same studio
Tips:
- Relight is particularly powerful for brand consistency. If you shot products across multiple sessions with different lighting setups, Relight can unify them.
- Subtle adjustments usually look more natural than dramatic changes. Moving light direction by 30 degrees looks realistic; flipping it 180 degrees can look uncanny.
- Works well in combination with the Create tool — generate your image first, then fine-tune the lighting.
See our full breakdown of AI relighting for product photography.
Multiple Angles
What it does: Takes a single product photo and generates the same product from different viewing angles. One shot becomes a multi-view product gallery.
When to use it:
- Building product listing galleries from a single photo
- Showing front, side, and 3/4 views without reshooting
- Creating consistent multi-angle views for a product catalog
- Supplementing limited photography with AI-generated views
Tips:
- Start with the cleanest, most well-lit photo you have. The better your input, the more consistent the generated angles will be.
- This tool works best for solid, well-defined products — shoes, bags, electronics, furniture. Highly deformable items (clothing on a hanger, scarves) are trickier.
- Use Remove Background on your source image first for the cleanest results.
Image to SVG
What it does: Converts raster images (PNG, JPG) into scalable vector graphics (SVG). The output is resolution-independent and can be scaled to any size without quality loss.
When to use it:
- Converting logos or icons from raster to vector format
- Preparing graphics for print production where vectors are required
- Creating scalable assets for web and app interfaces
- Cleaning up hand-drawn or photographed artwork into crisp vectors
Tips:
- Works best with images that have clean lines, solid colors, and clear shapes. Photographs with gradients and complex textures will produce very complex SVGs.
- Simple is better. A logo with 3 colors will vectorize cleanly. A detailed illustration might produce an SVG file that's larger than the original raster image.
- Use this for graphics and logos, not for photographs. Photos should stay as rasters.
Suggested Workflow for Beginners
If you're new to all of this, here's a practical order of operations:
- Remove Background — Clean up your source image first.
- Multiple Angles — Generate additional views if needed.
- Relight — Normalize or enhance lighting across all images.
- Upscale — Boost resolution as the final step before export.
- Image to SVG — Only if you need vector output for logos or icons.
This order minimizes quality loss and gives each subsequent tool the cleanest possible input.
Common Mistakes to Avoid
- Upscaling too early. Upscale should always be last. Editing a massive file is slower and you'll lose the upscale benefits when the next tool processes it.
- Skipping background removal before compositing. If you're going to place a product in a scene using Recreate, remove the background first. The AI does a better job with clean cutouts.
- Over-relighting. Subtle lighting shifts look professional. Extreme changes look artificial. Start with small adjustments.
- Using Image to SVG on photographs. This tool is for graphics with clean edges. Photos produce messy, oversized vector files.
- Not checking results at full zoom. Always zoom in to 100% on your output. AI artifacts are easy to miss at thumbnail size.
Every tool is accessible from the Edit section of GESTEL. Start with the one that solves your most immediate problem, and build from there.