Lifestyle Product Photos
Put your product in a scene that makes sense.
A lifestyle image gives the product a place in someone’s day. Show skincare on a quiet vanity, a candle in a lived-in room, or a drink at the table. Start with the actual item and choose a setting that helps customers imagine using it.
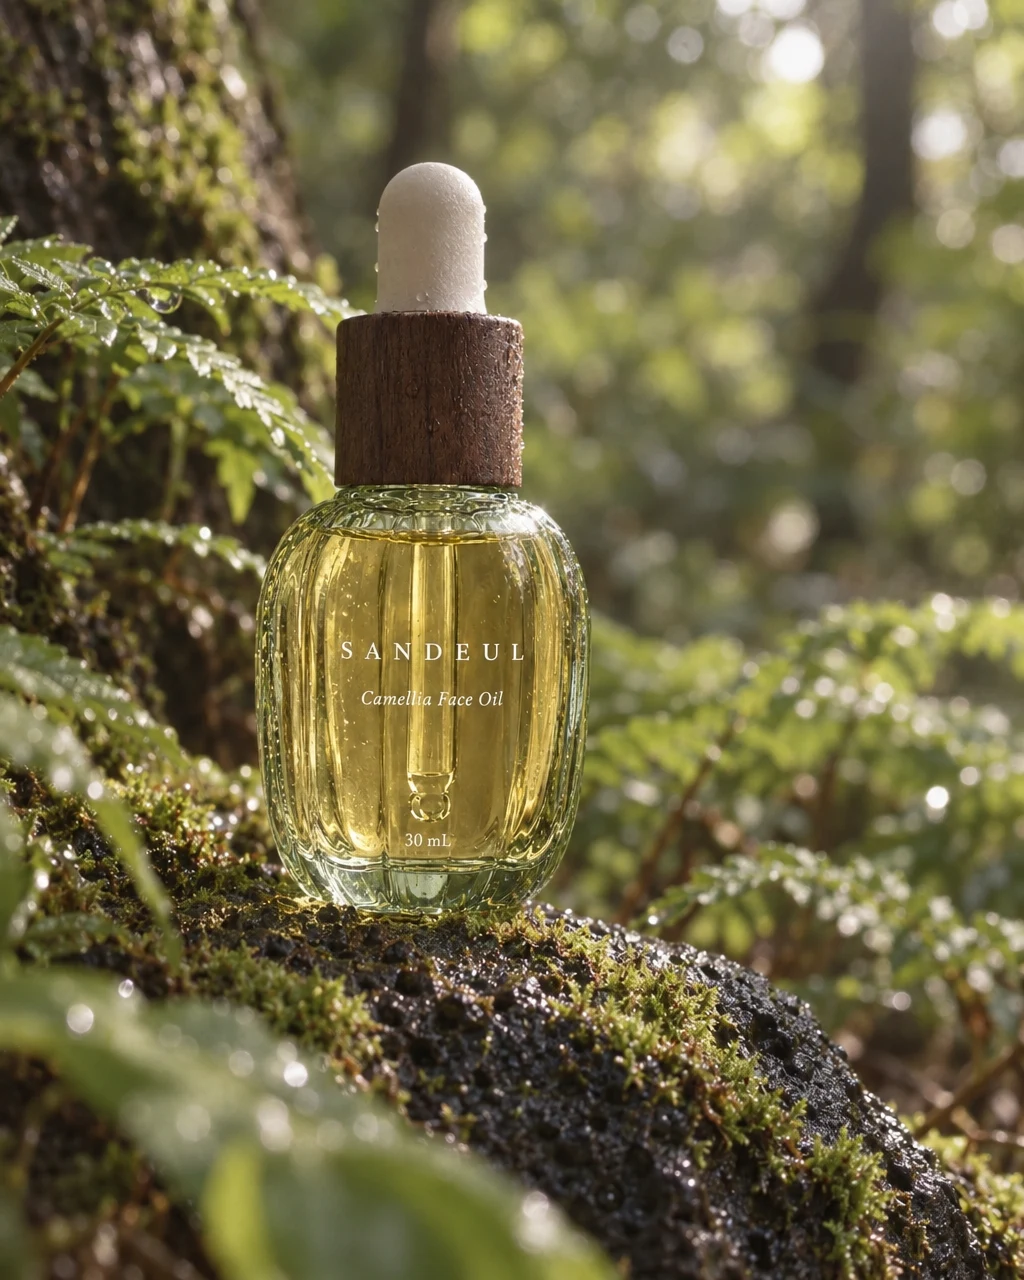
See the idea in practice
The same face-oil bottle moves from a straightforward source photo into styled settings. Light and surroundings change while the bottle remains the subject of the composition.
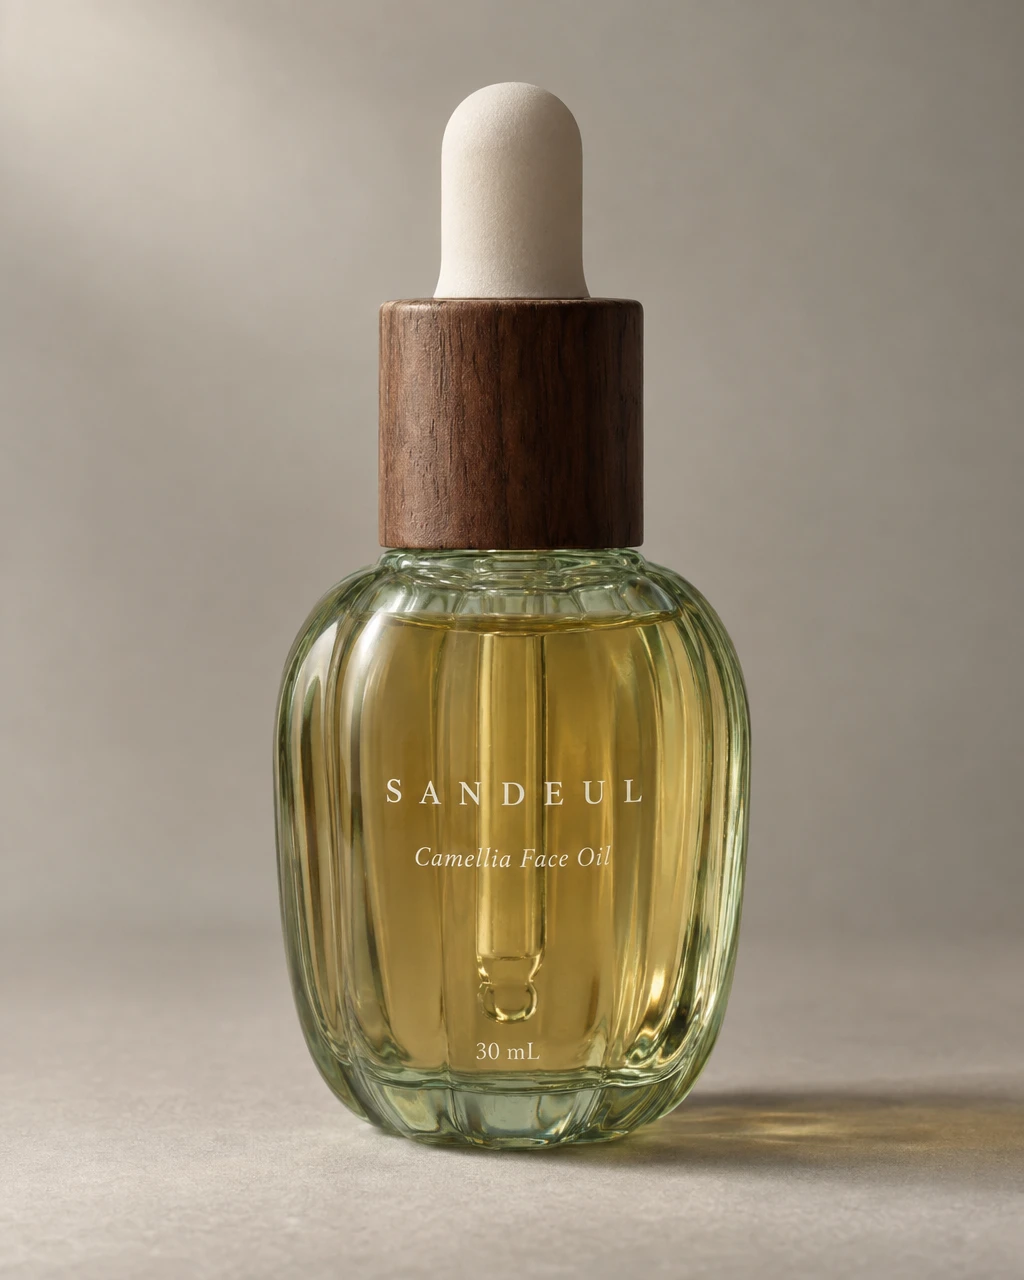
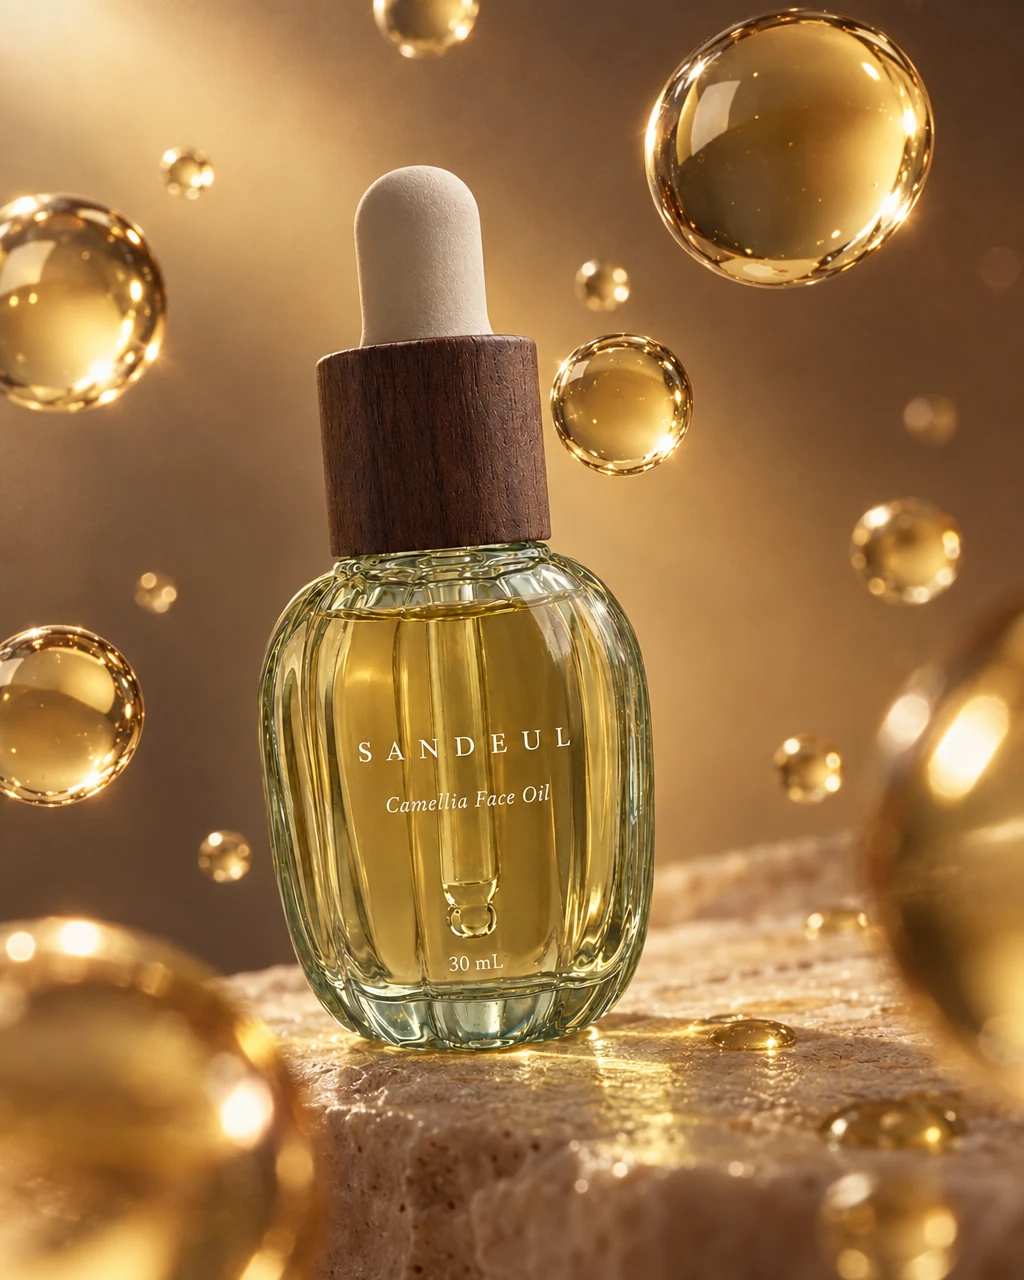
From product to finished creative
- 01
Choose the product and context
Bring a clear photo and decide where the product belongs. Describe the time of day, surface, and mood in practical terms.
- 02
Set the scene
Pick a reference in Quick Shoot or develop the setting in Canvas. Mention props that should be present and details that should stay out.
- 03
Build a useful series
Review the first result, then refine the light or composition. For a coordinated recurring feed, carry the direction into Brand Agent.
What you can make
- What to bring
- A product photo and a scene reference or written brief. Include dimensions when scale relative to furniture, hands, or props is important.
- What you get
- Styled still images that add context to product pages, brand campaigns, and social posts. Create several compositions to give each placement a purpose.
- What you can change
- Change the setting, surface, lighting, camera angle, and supporting props. Request a targeted edit on an individual result.
- What to check
- Review product identity and scale. A scene should not imply that decorative props are included, or that the product has a use or property you have not verified.
Find the right fit
Choose lifestyle photography when context helps explain desirability or use. Keep a plain product view alongside it when shoppers also need to inspect the item clearly.
The model, output format, and workflow determine credit use and plan availability. The pricing page has the current options; video requires a paid plan.
Compare plans and credits →Questions, answered
Do I need to photograph a real location?
You can describe the setting or choose a scene reference. A clear product source is still important. References help communicate the light and composition you want.
Can I keep the same scene across several images?
Describe what should stay consistent and review the proposed set. Brand Agent is useful when several images need a shared tone. Individual outputs still need checking.
Can props appear beside the product?
Yes. Specify the props and how they relate to the item. Check that the image does not suggest they are part of the package if they are only styling.
When should I use a packshot instead?
Use a packshot when the product needs a clear, unobstructed first view. Use lifestyle images to show a setting or mood. A listing often benefits from both.
Keep exploring
Give your product a place in the picture.
Start with your product, review the result, and make it yours.